MUC-OFF MUD GUARD FRONT/REAR
- Regular price
- RM 50.00
- Sale price
- RM 50.00
- Regular price
-
RM 0.00
Worldwide shipping
Secure payments
Authentic products
Share
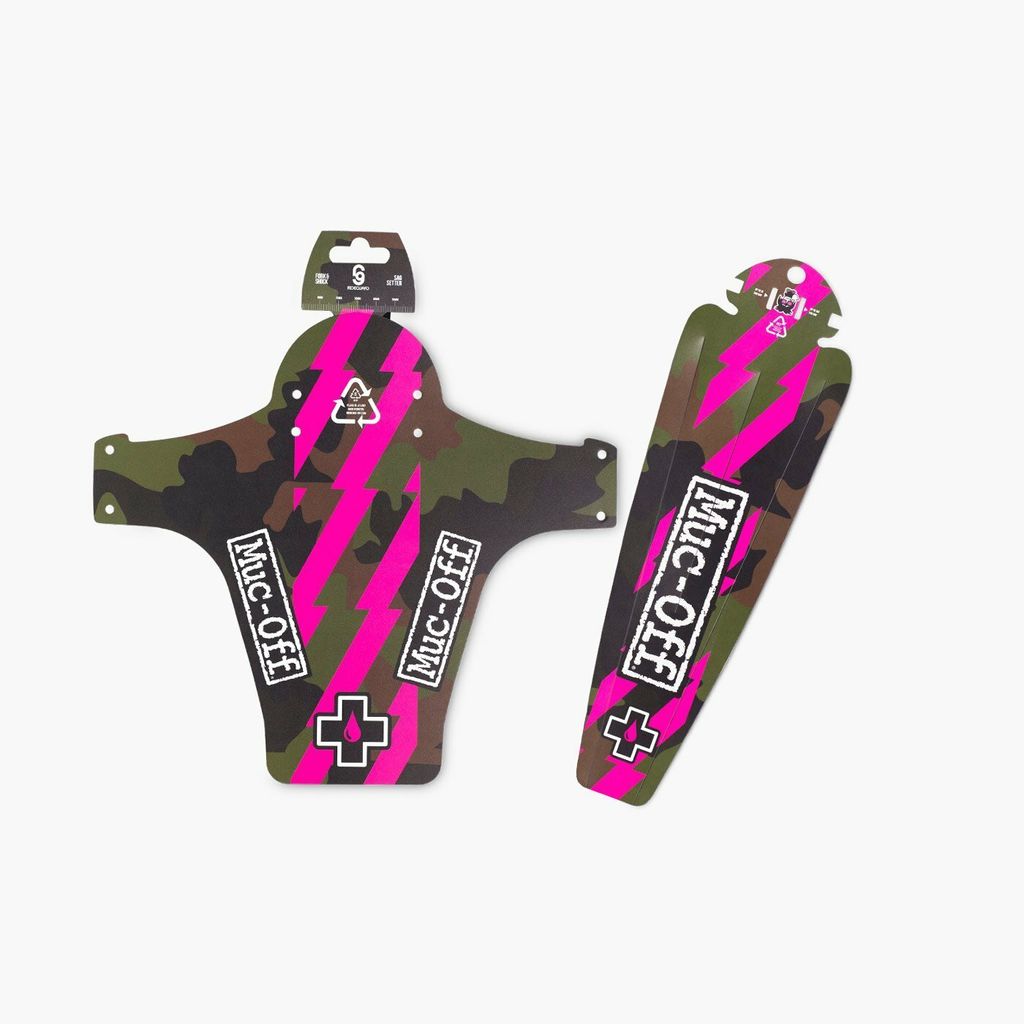
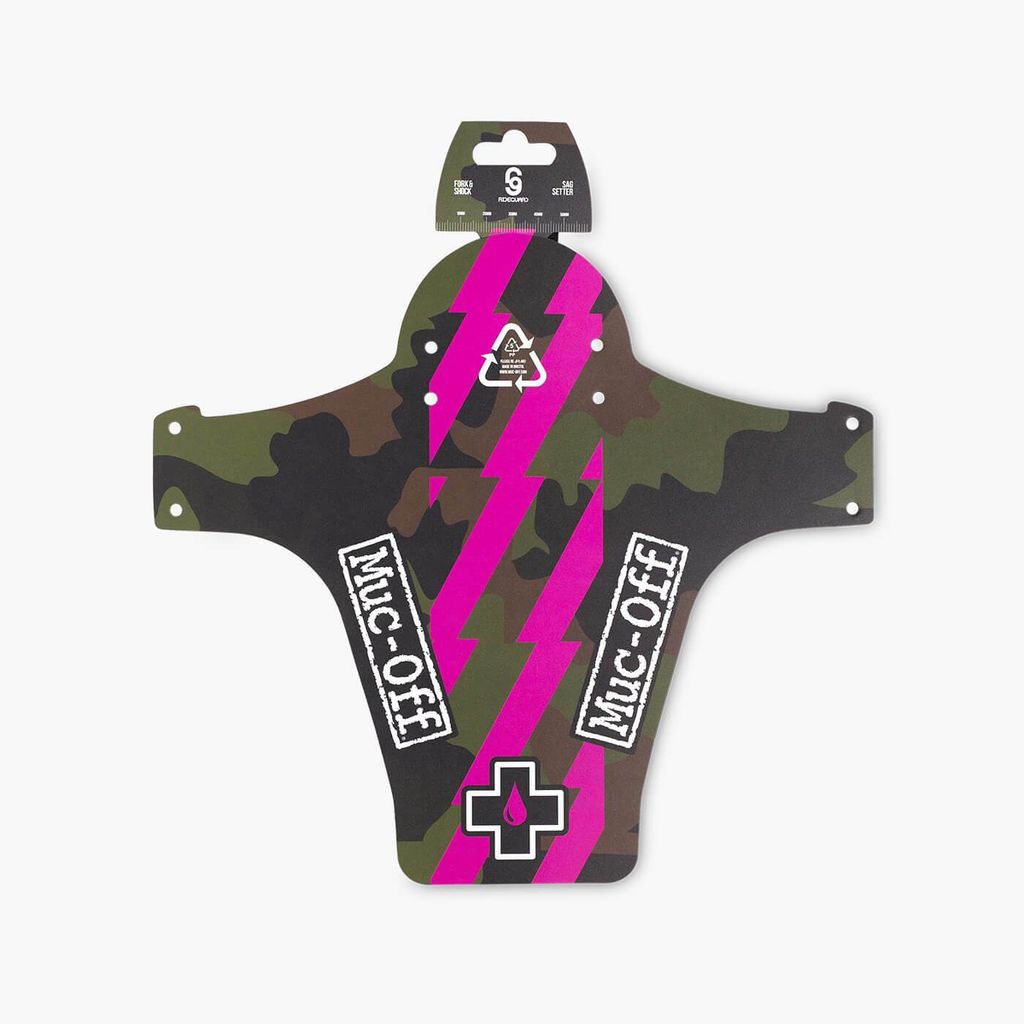
Tired of your wheels hurling muck into your face and spray on your back whilst bombing it down the trail? We’ve got the answer. Lightweight and stealthy, the Muc-Off Front & Rear Ride Guards keep mud fling at a minimum. These mudguards are lightweight, stealthy and super easy to fit to your bike – plus they look rad too.
PRODUCT INFORMATION
- Made from 100% recycled plastic waste
- Made in England
- 100% recyclable
FEATURES
- Guards against mud
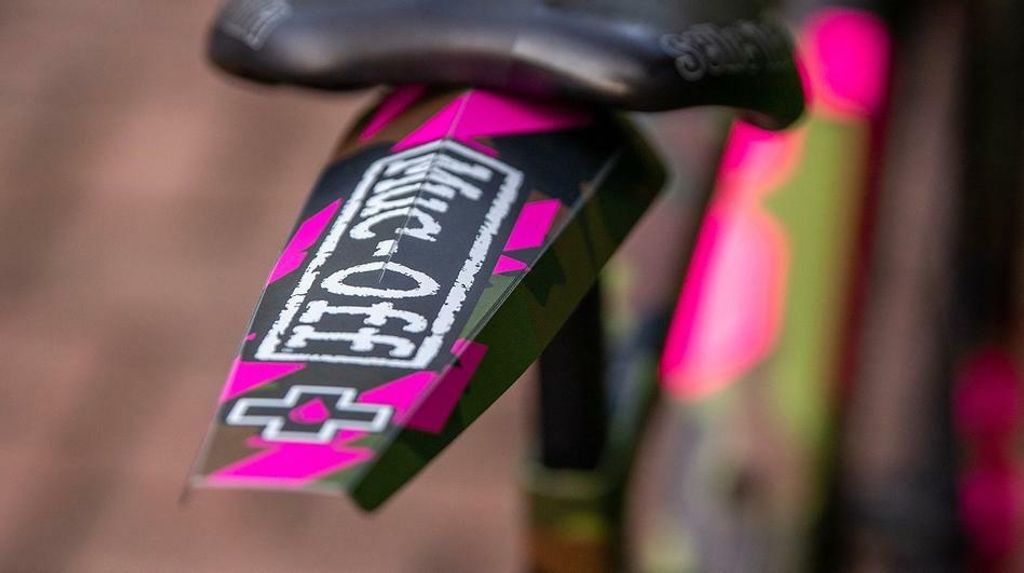
- Fits underneath the seat on most bikes – MTB, road, gravel and hybrid
- Looks awesome
- Easy to fit
- Supplied with one reusable zip tie
HOW TO
Front
- Step 1. Firstly remove the Sag setter and attach it to your shock pump. You can now set the sag on your suspension if required (check shock manufacturer's recommendations).
- Step 2. Remove the zip ties and thread them through the four sets of holes in the RideGuard from the rear to the front
- Step 3. Slide the RideGuard under the front fork brace and loosely loop the zip ties around the brace and fork legs.
- Step 4. Push the RideGuard upward towards the fork brace and tighten the zip ties (A). Tighten the zip ties (B) around the fork legs for a snug fit. Trim the excess ties.
- Step 5. Don't forget to check your Ride Guard regularly to ensure zip ties are tensioned to avoid damage to paintwork.
Rear
- Step 1 - Feed the attached zip tie through the 'IN' slot and back through the 'OUT' slot
- Step 2 - Fold the two outside edges and the centre fold downwards along the fold lines to stiffen the guard
- Step 3 - Push the guard and zip tie over the top of the rail on the rear of the saddle
- Step 4 - Tighten the zip tie around the rails ensuring the zip tie fits inbetween the slot on the edge of the guard.
- Step 5 - When you have tightened the zip tie firmly cut to length ensuring you have at least 30mm to retension if required.


